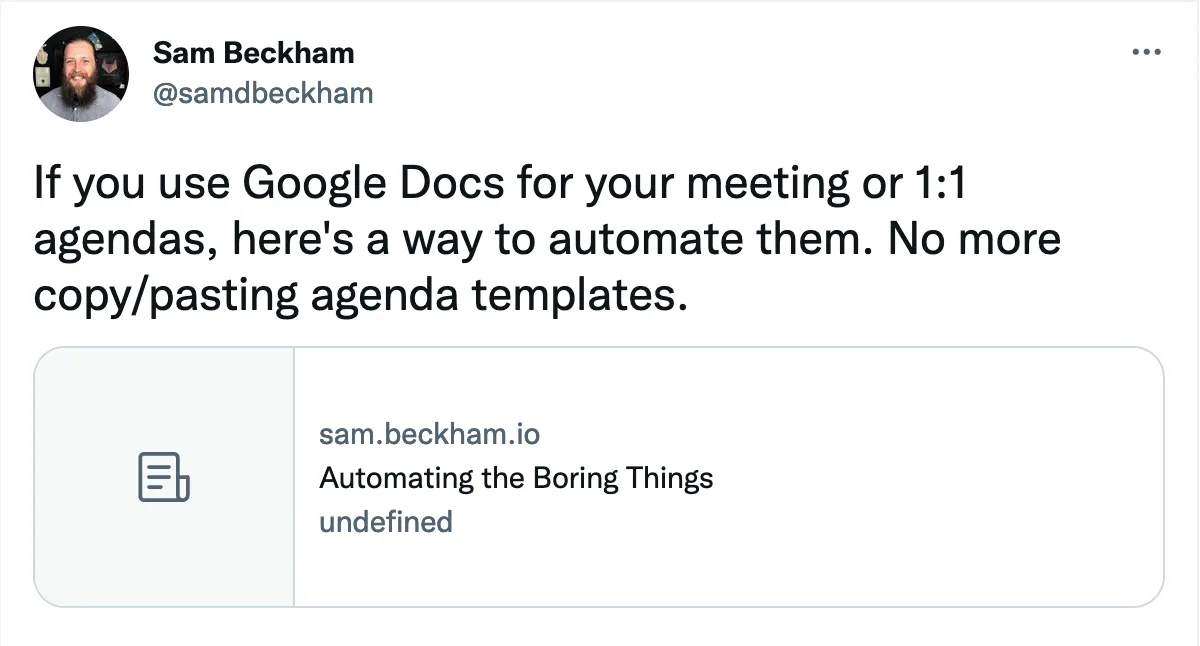
I’ve put a lot of effort into designing this site, only to share it on social media and be greeted with this monstrosity of a preview:

These previews are generated with open graph tags. Little bits of metadata that tell social networks (and other sites) about your site. They take parameters like, title, description, image, and a few others. There’s a lot of uses for these, but social previews is the most common. I had a few set up for this site, but they were poorly configured. Which is why we see the hot mess in the above screenshot.
There were some configuration changes I had to make, such as the description being set to undefined, but the main thing I wanted was preview images.
Images really make your posts stand out in a social feed.
I didn’t want to pair a generic stock image with each post; nor did I want to use the same image for every post.
I wanted each image to be unique, and meaningful.
Something like this:

Lovely stuff. It matches the style and tone of the blog nicely. It will stand out in any social media feed. It’s entirely auto generated.
That’s right. There’s no Photoshop, Figma, Gimp, or any image editor of any sort used here. If I change the background color or title of this post, the image changes right along with it. It’s all done using JavaScript canvas and generated at build time.
I cobbled this together after reading, “How to create and save an image with Node.js and Canvas”.
If you want to go more in-depth, I’d recommend reading this article.
A lot of my code was copy/pasted from inspired by it.
With this script, I can pass it a title and a background color and it will generate and write an image to my filesystem.
I’ll no-doubt tweak and update this over time so you can view the up-to-date source on GitLab.
Because I’m using Gridsome to generate this site, I can hook into the api.onCreateNode() lifecycle hook and make sure an image is generated for each post.
api.onCreateNode((options) => {
  if (options.internal.typeName === "Article") {
    const { title, background } = options;
    generateSocialImage({ title, background });
  }
  return options;
});
With a little tweaking though, there’s no reason you couldn’t use this node script on a regular node server, or as a serverless function. Jason Lengstorf has written another great atricle on a similar approach.
All that’s left is to tell the social tags where the image is.
<meta
  property="og:image"
  content="https://sam.beckham.io/social_images/auto-generate-social-images.png"
/>
<meta
  name="twitter:image"
  content="https://sam.beckham.io/social_images/auto-generate-social-images.png"
/>
Now when we share this post on Twitter (other social media sites are available), we get a much nicer preview image. Why don’t you share this article yourself to see it in action!

Comments
(Powered by webmentions)Start the Conversation